We need to take screenshots of the desktop for various reasons. For example, you want prepare a presentation on a software. You might need to take snapshots of various Windows of the software. Here we’ll see how we can take screenshot of the whole desktop or some portion of the desktop.
1. Take screenshot of whole desktop.
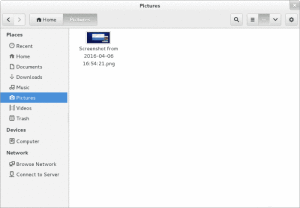
To take screenshot of the whole desktop, you need to simply press PrntScrn (PrintScreen) key on the key board. Note that for some keyboard PrntScrn key is activated with the Fn (Function) key. In that case you have to press the PrntScrn along with the Fn key (Fn + PrntScrn) always. If you see a flash of the screen, that means the screenshot is taken and saved in the “~/Pictures” folder. (“Pictures” folder resides at the home directory of the logged in user)
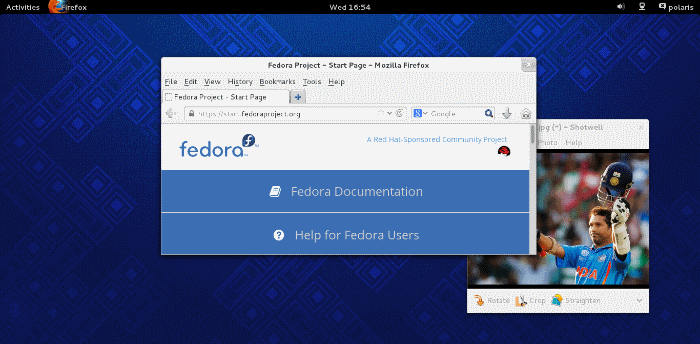
Here I took print screen of my desktop where Firefox browser and Shotwell application were running. All application are captured. The file was saved in the “~/Pictures” in .png format.
2. Take screenshot of the window of a particular application
There may be lot of (graphical) applications running on the desktop, but you want to take screen shot of the window of a particular application. In that case you have to focus the window that you want to capture and then press “Alt + PrntScrn”. The screenshot of the focus window will be saved in the “~/Pictures” folder.
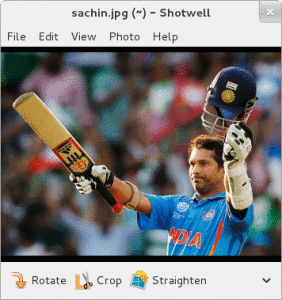
On my desktop Firefox and Shotwell applications were running, I selected (focused) the Shotwell window and pressed “Alt + PrntScrn“, the Shotwell windows was saved.
3. Take screenshot of custom area of the desktop
You can take the screenshot of a sub-region of the desktop of your choice but pressing “Shft + PrntScrn“. You will be allowed to select a region of the desktop. Once you release the mouse, the selected region will be captured and saved in the Pictures folder.

Here I captured a region that includes some parts of both Firefox and Shotwell Windows.
4. Copy desktop to the clipboard
In the previous examples, all captures were automatically saved in image files in the Pictures folder. You might want to copy the image in the clipboard for pasting on other document. Procedures are exactly same but you have to press Ctrl key with the other key. For example,
Ctrl + PrintScreen: Takes a screenshot of your entire desktop and copies it to the clipboard.
Ctrl + Alt + PrintScreen: copies a screenshot of the focused window to the clipboard.
Ctrl + Shift + PrintScreen: Lets you select an area of the screen, and copies it to the clipboard.
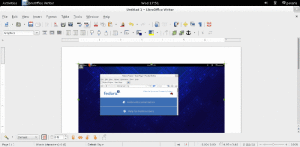
In this example, I copied the whole desktop by pressing “Ctrl + PrntScrn” and pasted to a word document.
Installing without keyboard shortcut
You can take screenshot using GNOME Screenshot GUI application. This application comes by default with standard Fedora installation
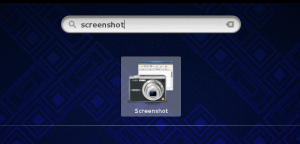
To open that application, type “screenshot” in the search box of the desktop. Click on the Screenshot icon below.
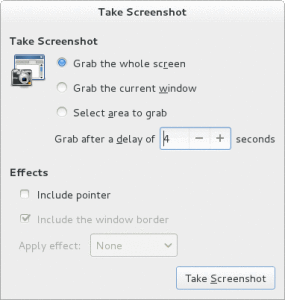
You can select option from the “Take Screenshot” GUI to capture whole desktop, focussed window or custom area. You can also select when to take the capture after pressing the “Take Screenshot” button.
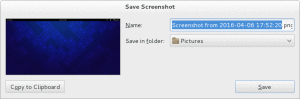
After taking the screenshot, another dialog will appear to ask whether you want to save the screenshot into a file or clipboad. You can choose either based on your requirement.